In the past, creating a smart contract could be a daunting task, but with the advent of new tools, such as ThirdWeb, the process is becoming much simpler and more accessible to the average developer. Basically, Thirdweb is a platform that allows developers to create, deploy, and manage smart contracts on the blockchain. It is built on the Ethereum network and it provides a user-friendly interface for developers to interact with the blockchain, allowing them to focus on building their contracts rather than worrying about the underlying technology. Creating a basic smart contract using Thirdweb is a relatively simple process, and in this tutorial we’ll you walk through the steps required to create a basic smart contract using the platform.
Create an account on Thirdweb
The first step to creating a smart contract on Thirdweb is to create an account. Go to the Thirdweb website and click on the “Start Building” button. From here, you’ll just need to follow the basic instructions and connect your metaMask wallet and you’ll be ready to get started. Setting up a ThirdWeb account is pretty quick and painless overall and we wont go into it in to much detail here.

Create a new contract
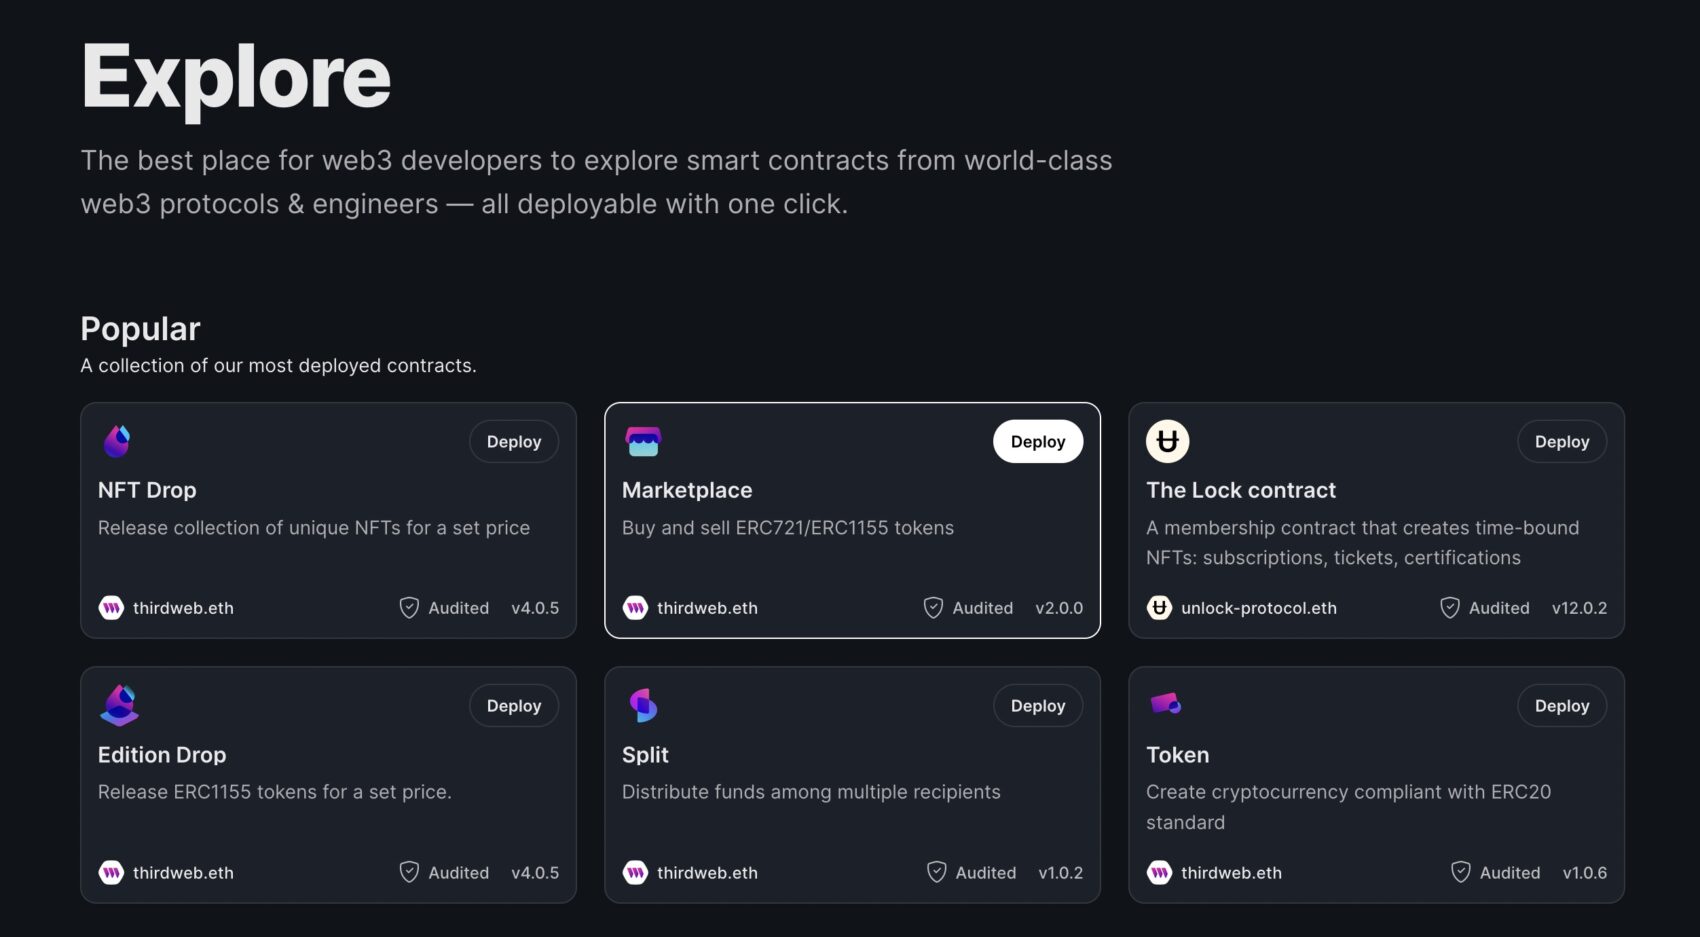
Once you have created your account, head over to the ThirdWeb Dashboard and click on the “Deploy New Contract” button. This will take you to the contract creation page that lists a few pre-existing template contracts that you can choose from. For this tutorial, we will go ahead and select the “NFT Drop” template, and fill out the info pop-up that appears once the contract is selected, as shown below:

Select your network
When asked to choose a wallet and Network / Chain, lets make sure we’re choosing a testnet, such as Goerli. Once you click the wallet button, it’ll ask to connect to your MetaMask wallet and pay a gas fee. As long as you’re on Goerli, you can use a faucet to give yourself some free matic. The coin used to pay the fee. If you haven’t looked into this yet, you might need to visit a matic faucet before continuing. If you do have some matic, go ahead and approve the transfer

The Contract
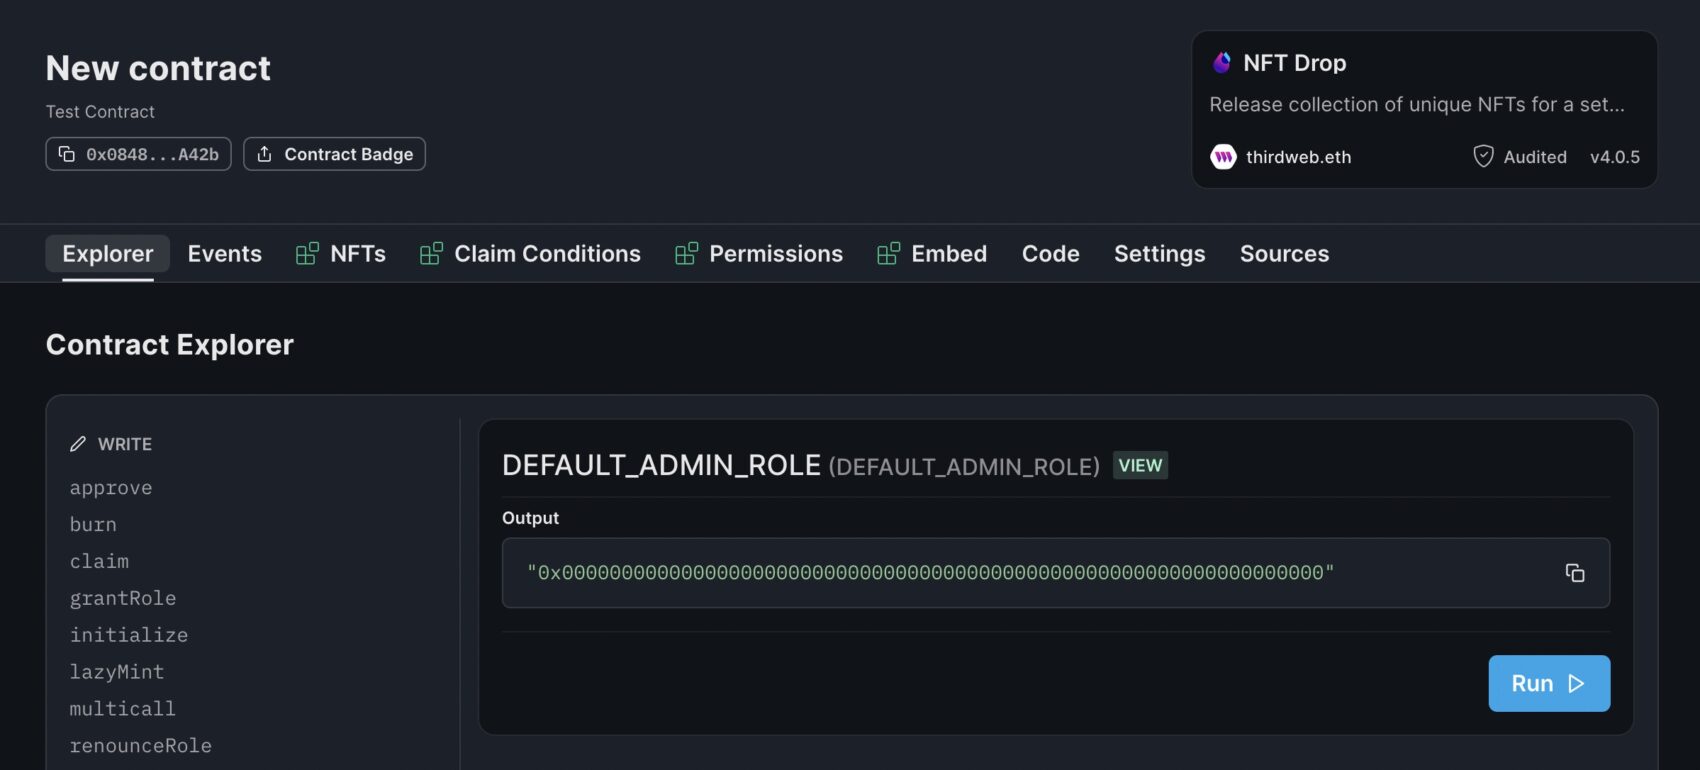
Ok, once the transfer has completed, your contract should be up and ready to go. From here, you can interact with your contract, listen for events on it, call the methods on it, or whatever you like. If you head over the the “Explorer” section of your contract, you can see what some of these methods are that make up the contract. You’ll see things like “Aprove”, “Burn”, “Transfer”, and a lot more. Feel free to check out some of these to get an idea of what your contract can do. By exploring the contract dashboard, you’ll also be able be able to see the “Events” your contract has broadcast, how to create new NFT’s with your contract, you’re actual contract code, and a few other items.

Digging in
On the surface, that’s about all you need to do to get a contract onto ThirdWeb that you can play with and test. When it comes to what a contract does, and how its built, that’s a little bit more complicated. To explain the piece of a contract in a little more depth, lets take a look at am much simpler contract and break down its elements. First, make sure you’re logged into the ThirdWeb Dashboard and then head over to their list of all published contracts. Once here, find the contract called “My Contract” and select it. Once selected, if you make your way over to the “Sources” tab and select the “Contracts.sol” item you’ll be able to see the full contract source. This one is a lot simpler then the “NFT Drop” contract but its a lot easier to follow. Lets take a look at how its build:
Here is an example of the code for the “My Contract” template:
// SPDX-License-Identifier: UNLICENSED
pragma solidity ^0.8.9;

/**
 *  - Number smart contract.
 *      - Keeps track of a single number.
 *      - Folks can come in and increment that number.
 */

contract MyContract {

    uint256 public number;
    address public deployer;

    event NumberIncremented(uint256 newValue, address user);

    constructor(uint256 _startingNumber) {
        number = _startingNumber;
        deployer = msg.sender;
    }

    function incrementNumber() external {
        number += 1;
        emit NumberIncremented(number, msg.sender);
    }

    function setNumber(uint256 _newNumber) external {
        require(msg.sender == deployer, "Sorry you're not the deployer!");
        number = _newNumber;
    }
}
To start, this is not a complex contract in any way. This is an example of a smart contract written in Solidity, a programming language used to create smart contracts on the Ethereum blockchain. This contract is probably one of the simplest that you’ll find and basically keeps track of a single number that can be incremented by anyone.
Breaking it down
The contract starts with the line “pragma solidity ^0.8.9;”. This is a version requirement for the Solidity compiler, specifying that the contract is written in version 0.8.9 or higher of the Solidity language and it basically has three main components. Start Variables, Events, and the Functions or Methods that make it up.
When it comes to the State Variables, this contract has a “number” and a “deployer”
- “number” is a public state variable of type “uint256”, which is an unsigned integer of 256 bits. It keeps track of the number.
- “deployer” is a public state variable of type “address”, which is the Ethereum address of the person who deployed the contract.
The next thing you’ll notice are the “Events” in the contract. NumberIncremented. This is an event that is triggered when the “incrementNumber()” function is called. It takes two arguments: “newValue” and “user”. The event allows external contracts to listen for changes in the number.
The last piece of this contract are the Functions. These are the contracts “constuctor()”, “incrementNumber()”, and setNumber().
- “constructor(uint256 _startingNumber)” is called when the contract is deployed. It takes one argument, “_startingNumber”, which is used to set the initial value of the “number” variable and saves the address of the person who deploys the contract in “deployer” variable.
- “incrementNumber()” function increments the value of the “number” variable by 1 and triggers the “NumberIncremented” event.
- “setNumber(uint256 _newNumber)” function is used to set the value of the “number” variable. It takes one argument, “_newNumber”. This function can only be called by the original person who deployed the contract. This person can be verified by the “require()” statement. If the msg.sender is not the deployer, it will throw an error message “Sorry, you’re not the deployer!”.
Wrapping it up
When it comes down to it, a smart contract is similar to any other class or application that runs on the internet. Its a series of variables and functions that work together and define how a contract behaves. It’s important to keep in mind that this is just a basic example and that you can continue to add more complex functionality as per your requirements. While this a basic template, you can modify the code of a contract as much as you like, and remix it to make your own variations.
With the knowledge gained from this tutorial, you should now have a basic understanding of how to create your own smart contracts using Thirdweb. You should also have a better understanding of the structure of smart contracts, including state variables, events, and functions and how they make up the structure of a basic contract. As you continue to work with Thirdweb and explore the world of blockchain development, remember to always thoroughly test and review your contracts before deployment to ensure their security and reliability. The possibilities with smart contracts are endless, and we hope this article has helped you take the first step towards creating your own decentralized applications or at least where to get started.


